User Maintenance
User Maintenance
In this table you must create new users, amend access details for existing uses and disable users as well.
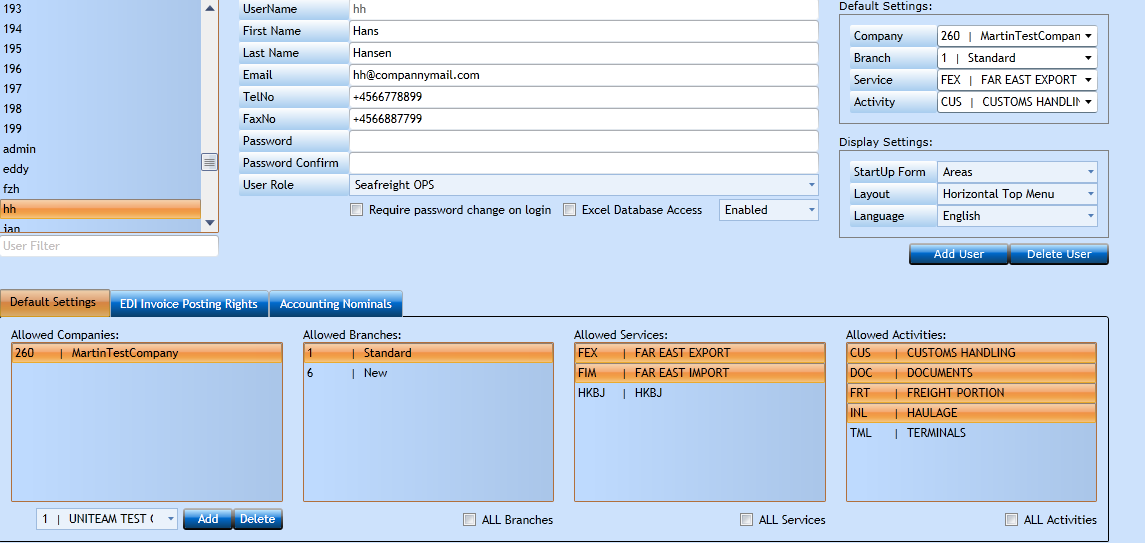
Opening the program will display a list of users in the left side and then all details for the first user.
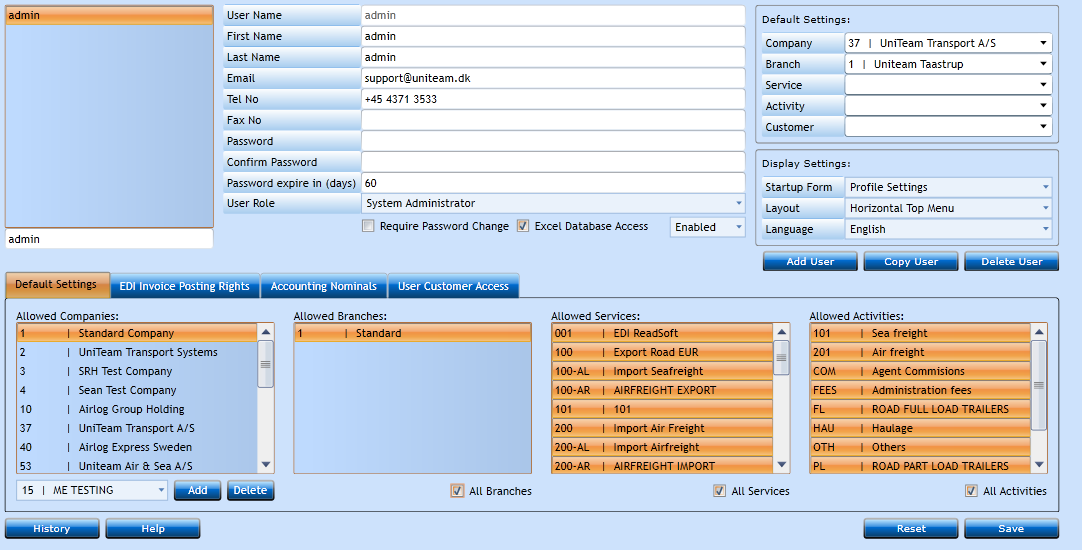
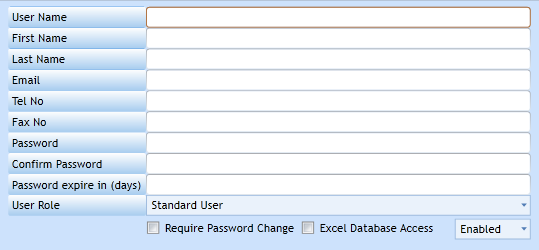
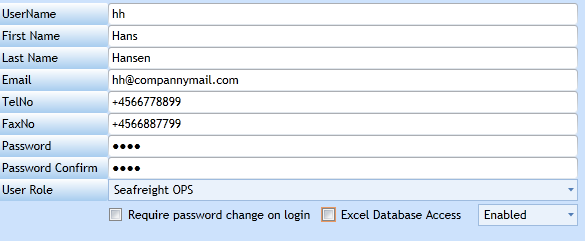
If you wish to add a new user press the Add User-button [F2]. Fields will now be empty and ready for input.
Or Copy user, all settings will be copies, please adjust befor saving.
|
Insert the Name used when logging into Uniteam. Could be the user initials. |
|
|
Insert the First Name. |
|
|
Insert the Surname. |
|
|
Insert the users email address if exists. This is required if the user shall send mails from the system. |
|
|
Insert the direct Phone No. of the user. |
|
|
Insert the Fax No. where the user can receive fax messages. |
|
|
Insert a Password |
|
|
Insert the Password as again to confirm. |
|
|
Insert number of days when password need to be reset. If you don't want to activate this security setting, please leave "Password expire in (days)" field empty."Password expire in (days)" valid from last Password change, most likely all users will be prompted to reset PW immediately. The user will be disabled after 3 invalid PW attempts. The PW must have minimum 8 character and contain at least one character must be a non-alphanumeric. |
|
|
Select a Role from the drop-down list. |
|
|
If you wish the user to renew the Password when logging in next time you should check this box. |
|
|
If the user should be granted access to the database via Excel you should check this box and type in users Password. |
|
|
If a user is not active you can choose to set the value to Disabled. Then you do not have to remove the user by deletion. |
When this part is ready press the Done-button.
You can now add which Company/companies, Branch(es), Service(s) and Activity/activities the user can access.
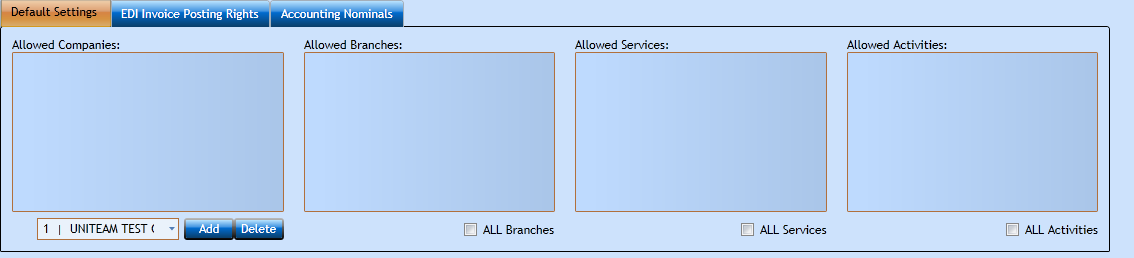
Select allowed company from the drop-down list and press Add [F2].
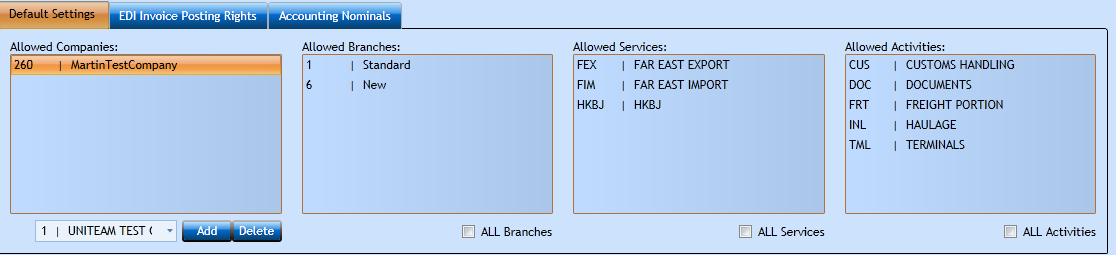
Once the Company has been selected all related branches, services and activities are listed in the following blocks. If the user should have access
to everything simply check the All box under the block.
If you wish to select hold [Shift] down while clicking on the items needed.
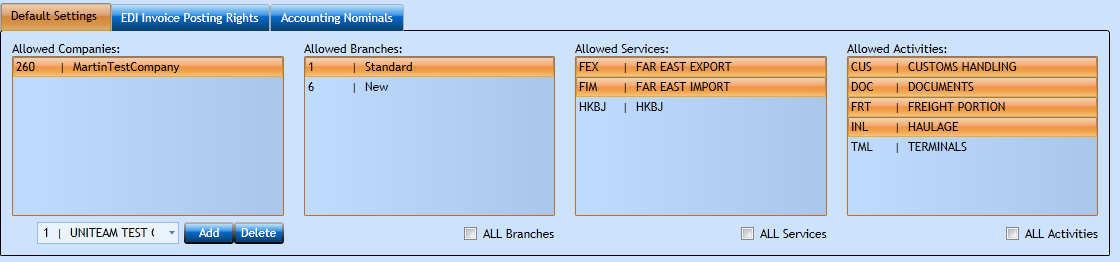
Press the Save-button [F8] to update the system.
Now Default Settings and Display Settings are populated, and you can amend these if needed.
You can leave fields empty in the Default Settings if you highlight the field and press the space bar.
|
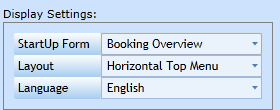
Display Settings |
|
|
Select the program which should appear when the user logs into Uniteam. |
|
|
Choose if the menu should appear in the top, or as a tree menus in the side. Some functions will not be optimal in Vertical Tree menu, therefor we advise Horizontal Top Menu. |
|
|
Select one of the three default languages. |
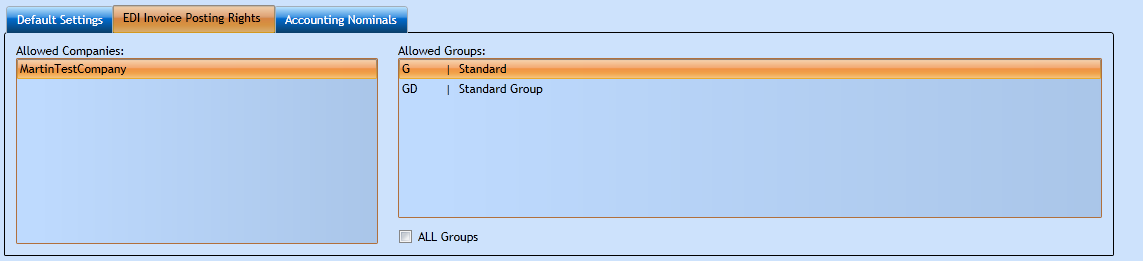
EDI Invoice Posting Rights
If the user should be able to post Vendor Invoice move on to the EDI Invoice Posting Rights tab and check the rights are assigned for allowed Company and Allowed Vendor Groups.
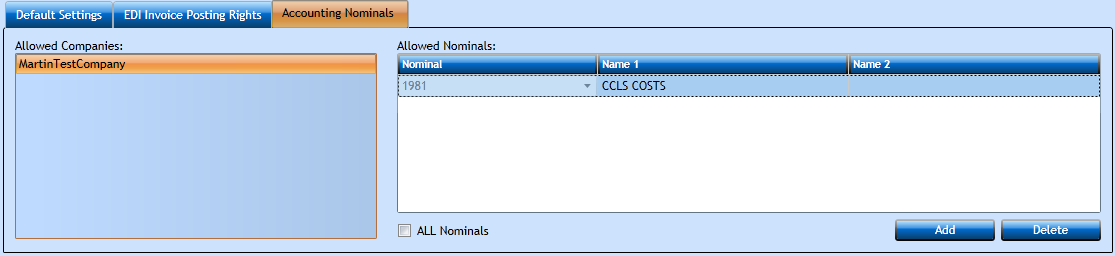
Accounting Nominals
Here you can add access to the nominals the user can post onto. If an accountant you would most probably check the All Nominals box,
but if this is operational persons you may wish to specify each Nominal.
Press the Add-button [F2] and you can select each nominal in the drop-down list. Press Save [F8] when done.
User Customer access
Finally move to the last tab and add access to Customers from the WMS Module.
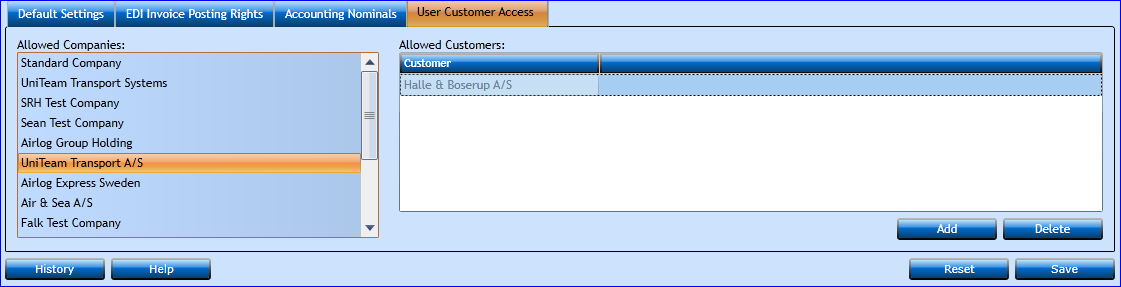
Now you have created a user.
Press the Add-button [F2] and you can select each nominal in the drop-down list. Press Save [F8] when done.