Delivery order (Outbound)
Delivery order (Outbound)
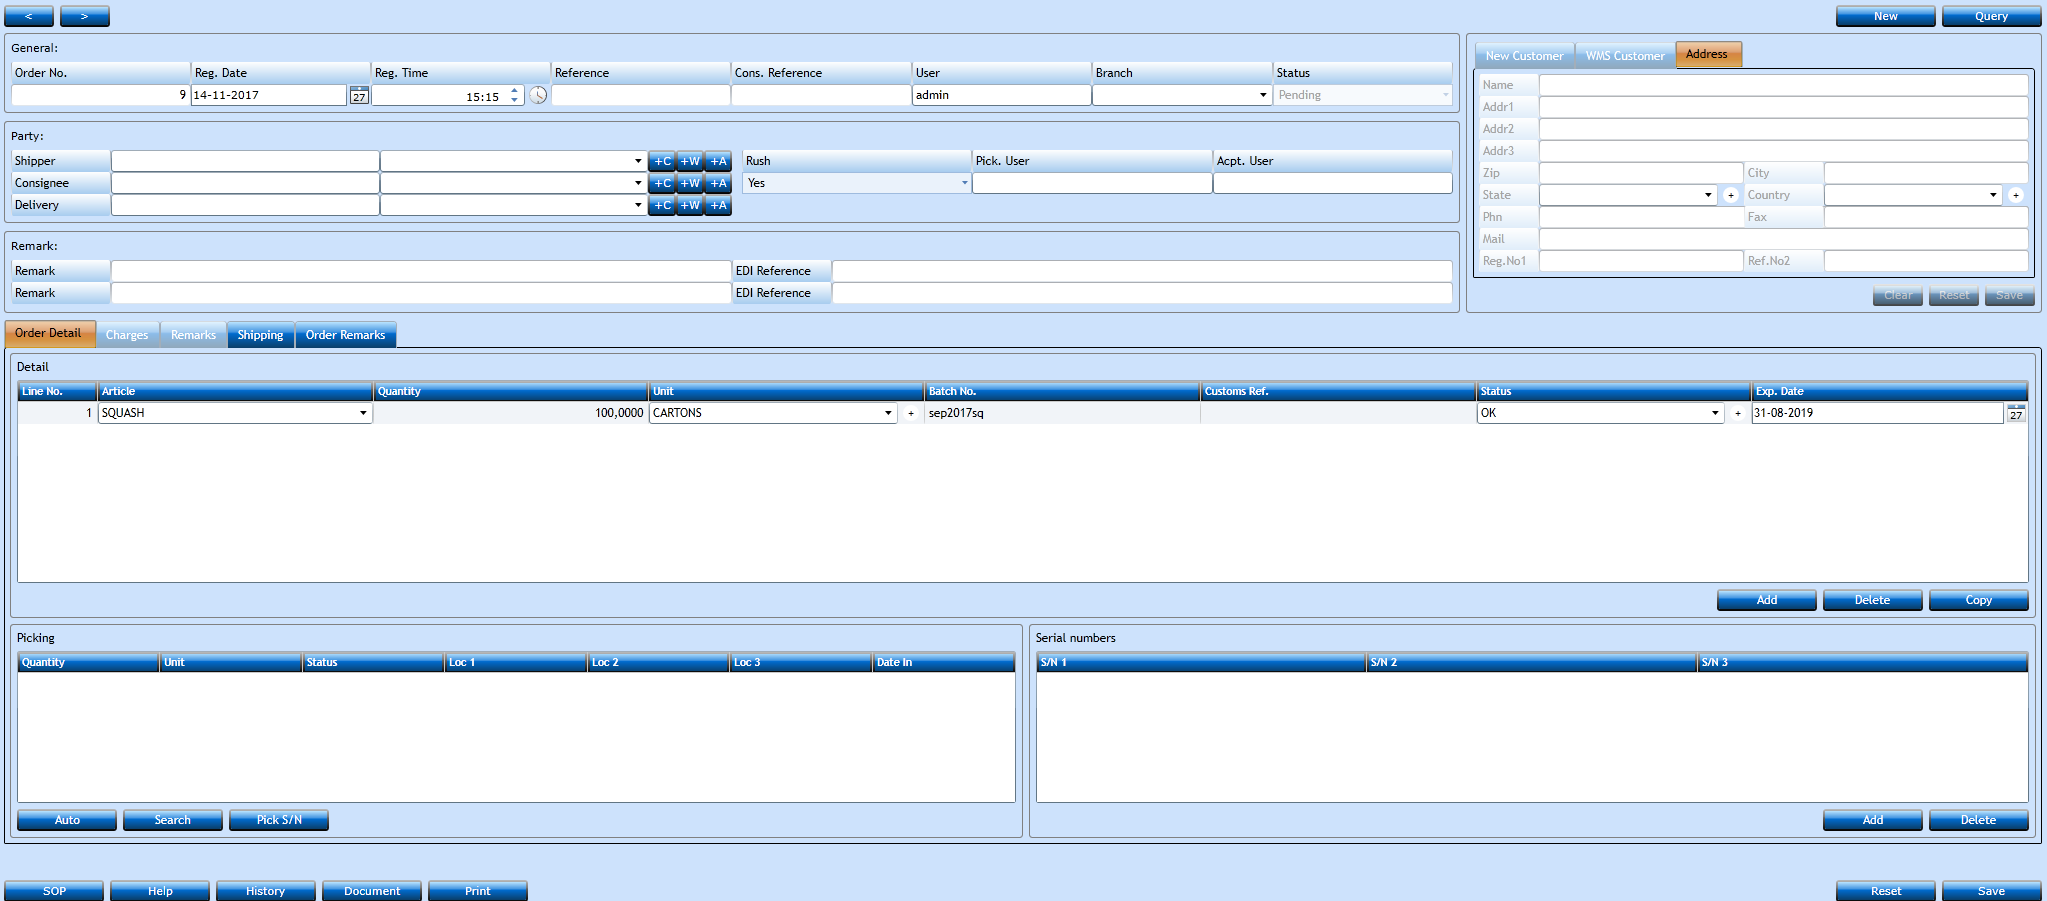
In this window you can register the outgoing orders in the WMS module.
Use the  -buttons to scroll between already registered orders. To query for orders press the Query-button.

To register a delivery order press New [F2]. Use the Add-button [F2] in all the blocks to add information.
General block

|
Order No. |
Will be Auto-assigned by the system. |
|
Reg. Date |
Is set to Today's Date. Can be amended by typing a new Date or by using the Calender-button. |
|
Reg. Time |
Is set to the present Time. Can be amended by typing a new Time or by using the Clock-button. |
|
Reference |
Insert a Reference for internal use if needed. |
|
Cons. Reference |
Insert Consignee Reference if needed. |
|
User |
Is set to the user logged in. Can be amended. |
|
Branch |
Choose Branch from the drop-down list. Not mandatory. |
|
Status |
Will be Auto-assigned by the system. |
Party block

|
Shipper |
Start typing the Name and a list of values will display. By using the |
|
Consignee |
Start typing the Name and a list of values will display. By using the |
|
Delivery |
Start typing the Name and a list of values will display. By using the |
|
Rush |
Choose between Yes or No if the order is an urgent order. |
|
Píck. User |
Start typing the Name of the User and a list of values will display. |
|
Acpt. User |
Start typing the Name of the User and a list of values will display. |
|
|
|
|
Note |
Left data field information is linked to the General Customer File and is tied to "+C" functionality Right data field information is linked to WMS Customer's Customer File and is tied to "+W" functionality |
Remark block

|
Remark 1+2 |
Insert a Remark in the text field. Not mandatory. |
|
EDI Reference 1+2 |
Insert an EDI Reference in the text field. Not mandatory. |
Order Detail tab
Detail block

|
Line No. |
Will be Auto-assigned by the system. |
|
Article |
Choose Article from the drop-down list. If you want to create a new Article press "+". |
|
Quantity |
Insert the quantity to be registered. |
|
Unit |
Choose Unit from the drop-down list. If you want to create a new Unit press "+". |
|
Batch No. |
Will be Auto-assigned by the system. |
|
Customs Ref. |
Will be Auto-assigned by the system. |
|
Status |
Choose Status from the drop-down list. If you want to create a new Status press "+". |
|
Exp. Date |
Will be Auto-assigned by the system. |
Picking block
Press Auto if you want the system to pick the items.

Press Search to manually search and select/pick from article stock among all batch numbers.

Serial numbers block
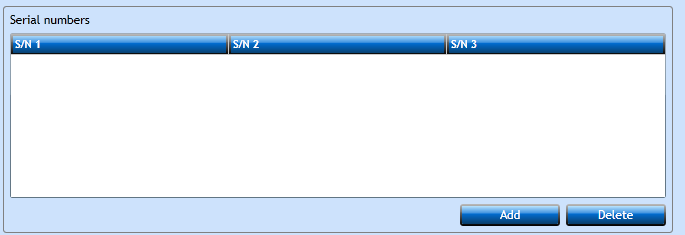
By pressing Add [F2] you are able to insert Serial numbers for the items registered.

Charges tab
In this section you can insert order/article related charges like wrapping or palletizing etc. Information will be included when issuing settlement at later stage.

|
Charge |
Choose Charge from the drop-down list. |
|
Text |
Insert a text describing the Charge. |
|
Nos |
Insert the number of items to be charged. |
|
Rate |
The Rate per nos will be automatically inserted when selecting charge. |
Remarks tab
By pressing Add [F2] you can insert a Remark for the items registered. You can also delete or copy an already existing Remark.

Shipping tab
Fill in the information regarding the transport from the Warehouse before adding new parcels.

|
Parcel ID |
Insert a Parcel ID/No. if needed. Not mandatory. |
|
Packages |
Insert the number of packages. |
|
Unit |
Insert the Unit Type. Please note that this must a Type already known by the system. |
|
Gross |
Insert the Gross Weight. |
|
Volume |
Insert the Volume. Not mandatory. |
|
Pallets |
Insert the number of pallets in the shipment. |
|
Type |
Choose Type of Pallet from the drop-down list. If you want to create a new Type press "+". |
|
Exch. 1/1 |
Insert the number of 1/1 pallets to be exchanged. |
|
Exch. 1/2 |
Insert the number of 1/2 pallets to be exchanged. |
|
Exch. 1/4 |
Insert the number of 1/4 pallets to be exchanged. |
|
Status |
Choose Status from the drop-down list. |
Order Remarks tab

|
Report |
Choose from the drop-down list where the Remark is to mentioned/printed. |
|
Remark |
Insert a text/Remark. |
Press Save [F8] or Add [F2] to insert additional Sequences. If you regret press Reset.
